List Management and Segments
The Purpose of Segments in Email Delivery and Performance
In the world of email marketing and deliverability, relevance is everything. Inbox providers like Gmail, Yahoo, and Outlook actively track recipient behavior—such as opens, clicks, and engagement rates—to assess sender reputation. If emails appear unwanted or irrelevant, these platforms may begin flagging senders as spam, ultimately harming delivery rates.
For platforms like SocketLabs, empowering customers to maintain a strong sending reputation is essential. One key technique to achieve this is segmentation.

What is Segmentation?
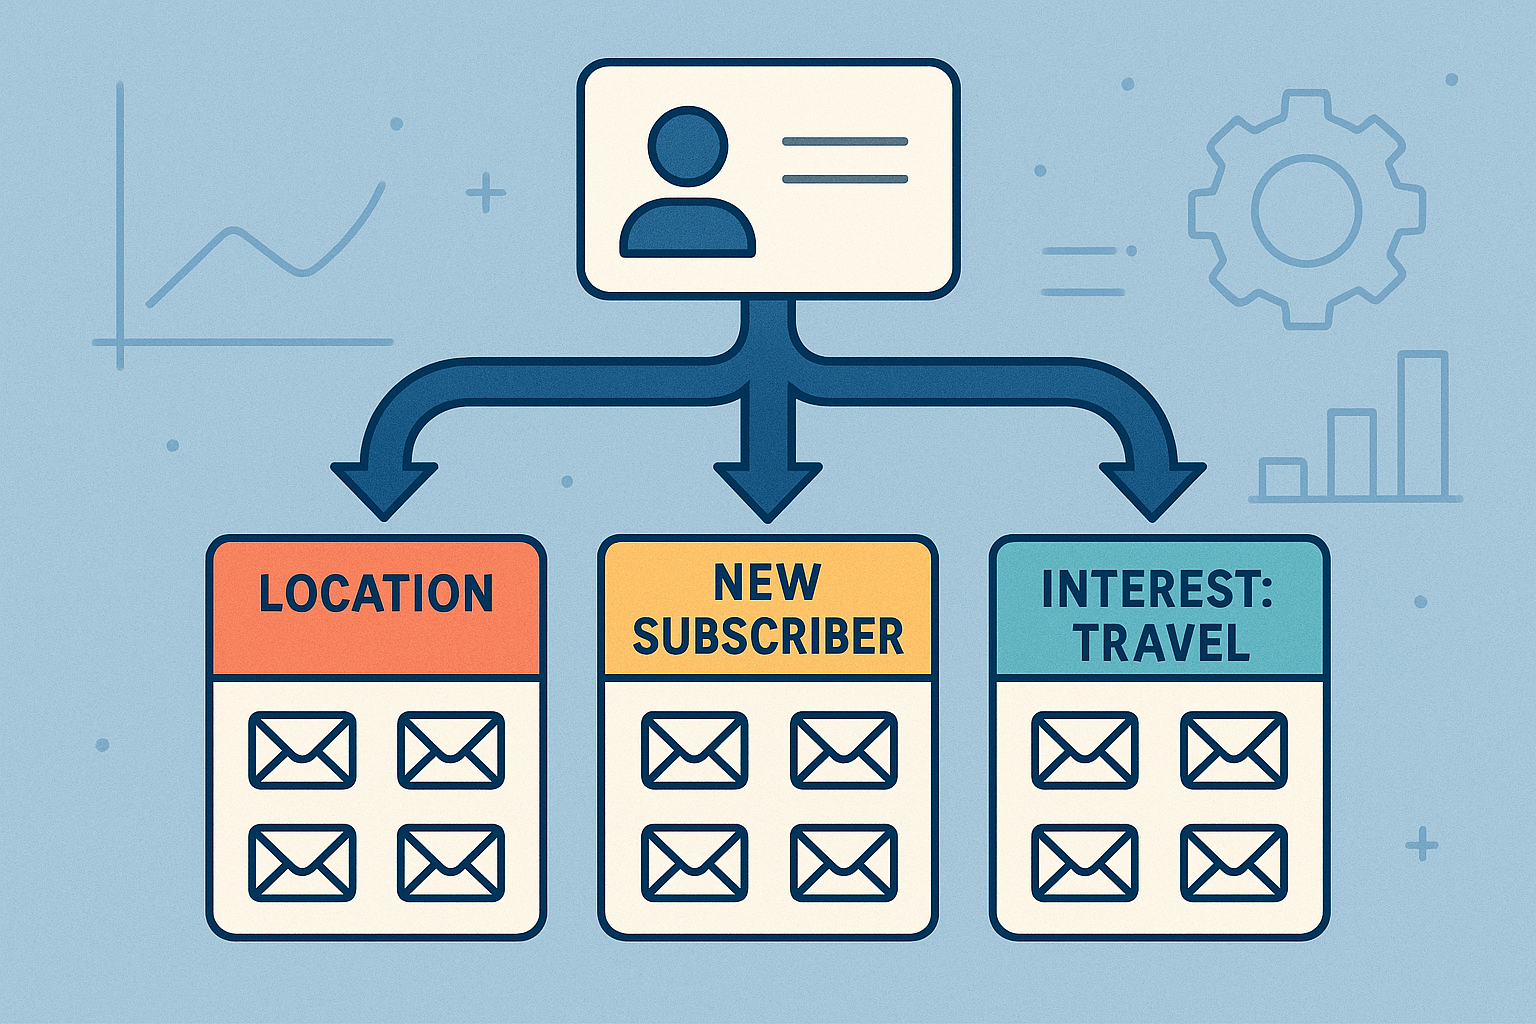
Segmentation involves dividing a contact list into smaller, targeted groups based on shared attributes—such as age, location, gender, purchase behavior, or engagement history. These segments allow senders to deliver more relevant, personalized content to the right audience at the right time.
Why It Matters
Segmented emails are more likely to be opened, read, and acted upon. They reduce the likelihood of spam complaints and improve sender credibility. Over time, this builds stronger relationships with recipients and improves overall campaign performance.
SocketLabs’ Approach
Recognizing the importance of segmentation, SocketLabs developed tools that allow customers to efficiently pare down and organize recipient lists. These tools help users tailor their messaging to different audiences, boosting relevance and maintaining high deliverability standards. Whether you're a high-volume sender or running targeted drip campaigns, segmentation is a critical asset for responsible and effective email marketing
Who I’m Designing For
Through collaboration with our Support and Sales teams, we identified key customer segments: Owners, Marketers, and IT personnel. While IT focuses on infrastructure and deliverability, Marketers and Owners are primarily interested in sending more targeted, curated content to their audiences to boost engagement and drive results.
Competitive Landscape
Segmentation is a well-established practice in the email marketing space. To understand how we could differentiate our approach, I conducted a competitive analysis of existing segmentation tools offered by leading platforms. This helped identify gaps, usability patterns, and opportunities to position our product more strategically in the market.
Conceptual Model

Concept Model: Breaking Down the Anatomy of an Email Recipient
To design effective segmentation tools, I first needed to understand what defines an email recipient within the system.
Required Fields
These are the essential data points needed to add a contact—such as email address, first name, or subscription status.Custom Fields
These allow for more granular personalization—like location, gender, preferences, or customer lifecycle stage.
By mapping out these core components, I created a foundation that supports dynamic segmentation based on meaningful criteria—making it easier for senders to target specific audiences with relevant content.
The Building Blocks of List Segmentation
Before diving into UI design, I first mapped out the abstract components of segmentation and how they interact. This was an exercise in both information architecture and systems thinking.
At its core, segmentation works by applying conditions to a broader list of recipients—filtering them based on attributes like location, engagement, or custom tags—to generate a refined, segmented list.
An important consideration was how this model would handle newly uploaded lists. I explored how incoming data should be validated, mapped to existing fields, and integrated into the segmentation logic without breaking user expectations or system consistency.
Mapping Behaviors to Features: List Segmentation in Action
To define the MVP, I mapped out the core user behaviors alongside the features that would support each step. This allowed me to align product decisions directly with real user needs.
At a high level, the key user flow includes:
Selecting a Contact List – the starting point for any segmentation task.
Adding Conditions – users define logic (e.g., "location = New York" or "last opened within 30 days") to filter recipients into a targeted segment.
By visualizing these behaviors (in blue) and their corresponding solutions (feature ideas, validations, UI components), I created a clear foundation for both MVP prioritization and cross-functional collaboration.
User Flow: Creating a Segment from Start to Send
Designing the user flow helped me break down the phases of segmentation and design around the behaviors associated with each step. Each phase informed key UI decisions and interaction models.
1. Selecting a List
Users start by choosing a source list.
I introduced a default master list called “All Recipients”, which acts as the primary base for segmentation.
Users can also create new segments from previously saved segmented lists—supporting nested targeting.
2. Creating Conditions
Users define rules based on both system fields (e.g., gender, name, date added) and custom attributes (e.g., birthday, age, occupation).
This step required flexible condition builders that could scale with different data types.
3. Previewing the Segment
Before committing to changes, users need to see who matches their criteria.
This preview step helps build trust in the system logic and prevents misfires from overly narrow (or too broad) conditions.
4. Saving & Using the Segment
Once satisfied, users can save the segment and later target it during email campaign creation.
This ties the segmentation feature directly into the sending workflow—bridging planning and execution.
Sketching the Segmentation Journey
To better understand the user’s path, I sketched out the likely flow they’d follow when creating a segment—from selecting a list, to defining conditions, to previewing the results.
This early visualization helped me anticipate decision points, edge cases, and interaction patterns, ensuring the experience felt intuitive and goal-oriented from the very first step.
I designed a number of components to assist users in creating segmented lists.
Adding Conditions: Designing for Clarity and Scanability
To help users define who should be included in a segment, I designed a vertical condition strip that allows them to apply filters based on specific attributes.
Rather than a dense, horizontal layout of criteria, the vertical format enhances scanability—allowing each condition to read more like a natural sentence (e.g., “If Location equals New York”). This improves comprehension and reduces cognitive load, especially for non-technical users.
The design supports both system fields and custom fields, giving users the flexibility to segment based on the data most relevant to their goals.
Stacking Conditions: Enabling Precision and Control
To support more advanced segmentation, I introduced the ability to stack multiple conditions. This empowers users to define highly specific criteria—such as “Location is New York” and “Last Opened within 30 days.”
By allowing users to build condition groups using AND/OR logic, the interface supports both broad and narrow targeting strategies. This flexibility ensures the segmentation tool can meet the needs of both technical users and marketing teams looking to fine-tune their audience.
Ellipses and Readability: Designing for Scannability and Editability
To ensure stacked conditions remained easy to scan, interpret, and edit, I designed the condition blocks to read like natural language statements—using spacing, ellipses, and visual hierarchy to guide the eye.
This layout allows users to quickly understand the logic they’ve built (e.g., “If Location is New York…”), making it easier to revise individual parameters without losing the broader context of their segment strategy.
By prioritizing readability, the interface supports both clarity and confidence—key traits for any tool that controls how and to whom emails are sent.
Managing Recipients Across Multiple Lists
During segmentation, it’s common for a single recipient to belong to multiple lists—especially when lists are imported from different sources or campaigns.
To bring clarity to this overlap, I designed an editing modal that surfaces how many lists a recipient belongs to. This allows users to:
View list associations at a glance
Prevent duplicate sends
Understand where segments may intersect
By surfacing this metadata at the point of editing, users can make more informed decisions about inclusion or exclusion—without needing to dig into multiple list views.
Views & Headers: Navigating Custom Fields with Horizontal Scrolling
To help users better assess which attributes are available for segmentation, I introduced horizontal scrolling for the recipient table view. This allows users to easily explore custom field headers—such as birthday, occupation, or last opened—without overwhelming the layout.
By making these headers visible and accessible, users gain a clearer understanding of their data and can make more informed decisions when building conditions for a segment. This pattern balances data density with usability, especially in systems with a wide range of recipient attributes.
Removing vs. Deleting: Defining User Intent with Clarity
To prevent accidental data loss and reduce confusion, I established a clear distinction between removing and deleting a recipient:
Remove: Excludes the recipient from the current list or segment, but retains their contact data in the system. They remain accessible via the “All Recipients” view.
Delete: Permanently removes the recipient from the entire contact management system, including all lists and segments.
This distinction was surfaced clearly in the UI through confirmation modals and labels, helping users act with confidence and understand the consequences of each action. It also aligned with best practices in data governance and user control.
Include or Exclude: Segment Logic at Send Time
The real power of segmentation is realized at the moment of sending. During campaign setup, users can choose to include or exclude specific segments based on content relevance.
Include: Target recipients who meet specific criteria (e.g., “Engaged Users,” “NYC Subscribers”).
Exclude: Omit groups for whom the content may not apply (e.g., “Unengaged,” “Non-Customers”).
This level of control ensures message relevance, improves deliverability, and helps maintain a strong sender reputation—by avoiding unnecessary or unwanted emails.

Conclusion: Designing for Flexibility—Dynamic vs. Static Lists
One of the more interesting challenges during this project was recognizing the need for two distinct types of segmented lists, each serving a different user need:
Dynamic Segments
These lists automatically update as new recipients are added to the system. If a new contact meets the defined criteria, they are instantly included—making this ideal for ongoing, rule-based targeting.Static Segments
These are snapshots in time. Once created, the list remains unchanged, regardless of future uploads or data changes. This approach is useful when marketers want to freeze a group for a specific campaign or compliance purpose.
Designing both types gave users the flexibility to choose between automation and control, depending on their goals and use cases.